Your pool is probably not at the top of your mind during winter. However, it still requires some attention during the colder months. From covering the pool to managing water levels and safeguarding your equipment, winterizing your fiberglass pool will prevent accidents, protect your investment, and ensure a smooth reopening when the weather warms up. Beginning with winter pool safety covers, consider the following top tips as part of your cold-weather pool maintenance routine.
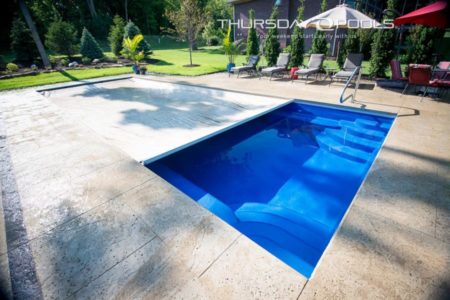
Buy a Winter Pool Safety Cover
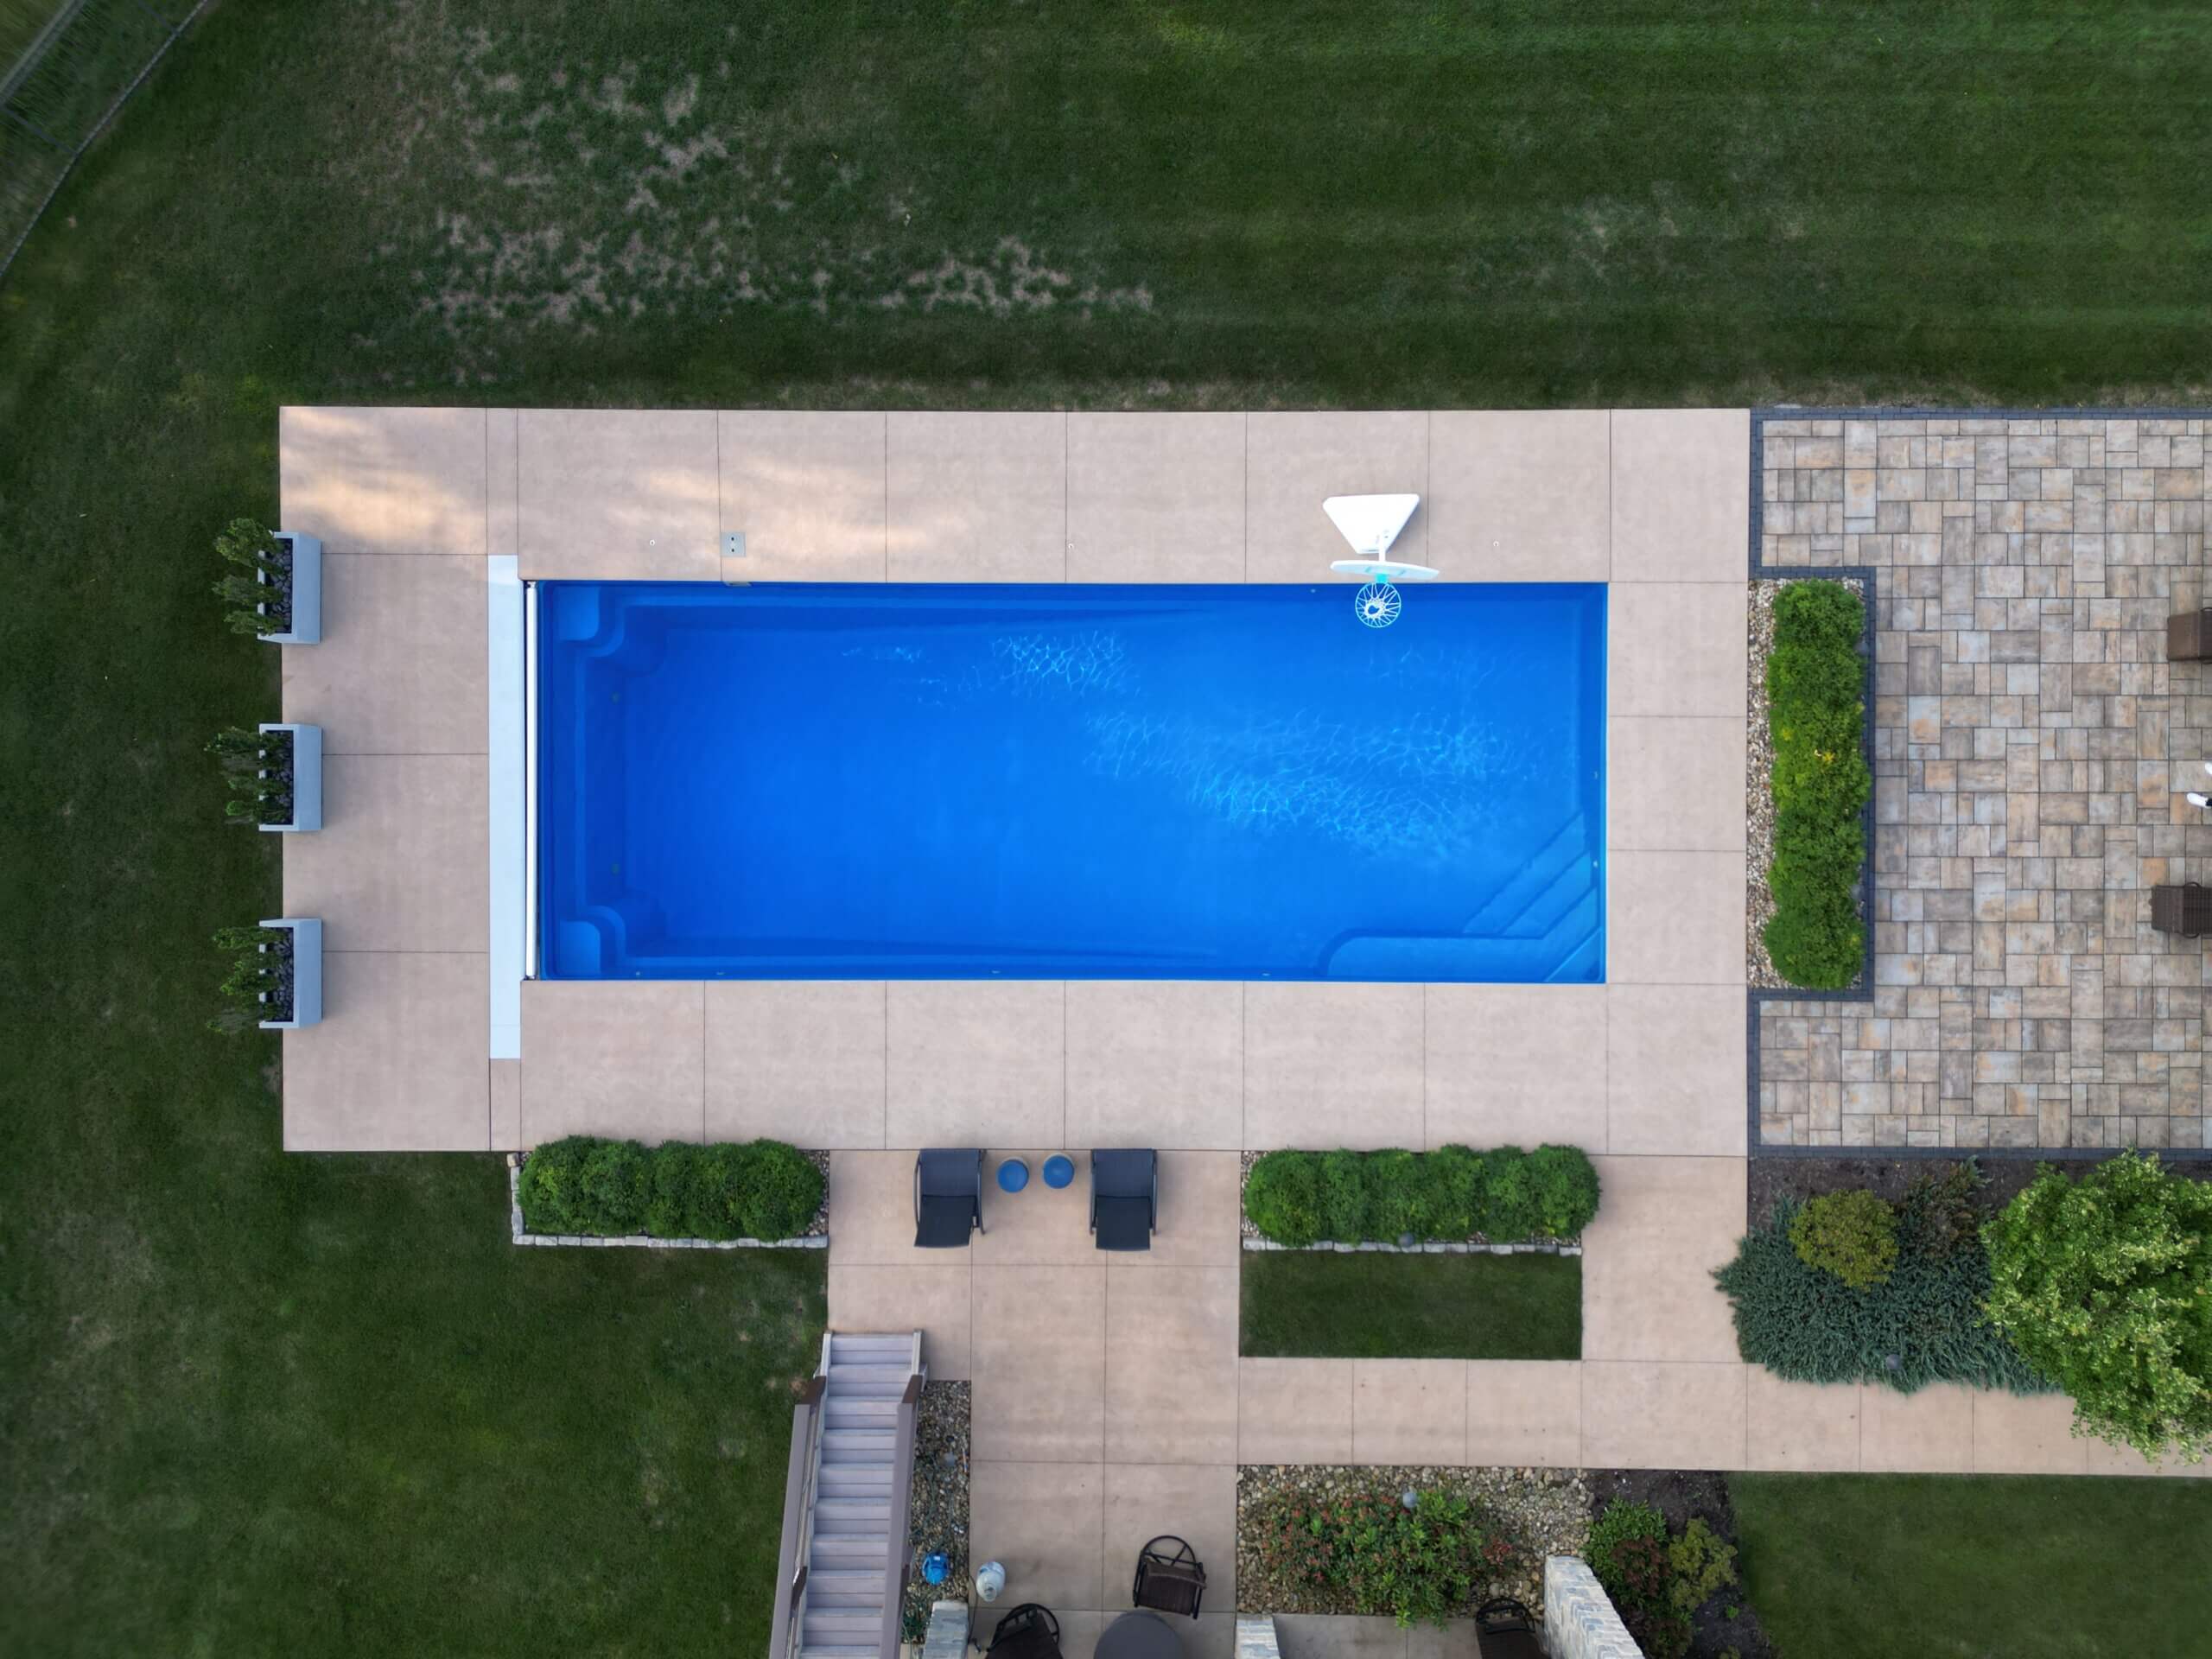
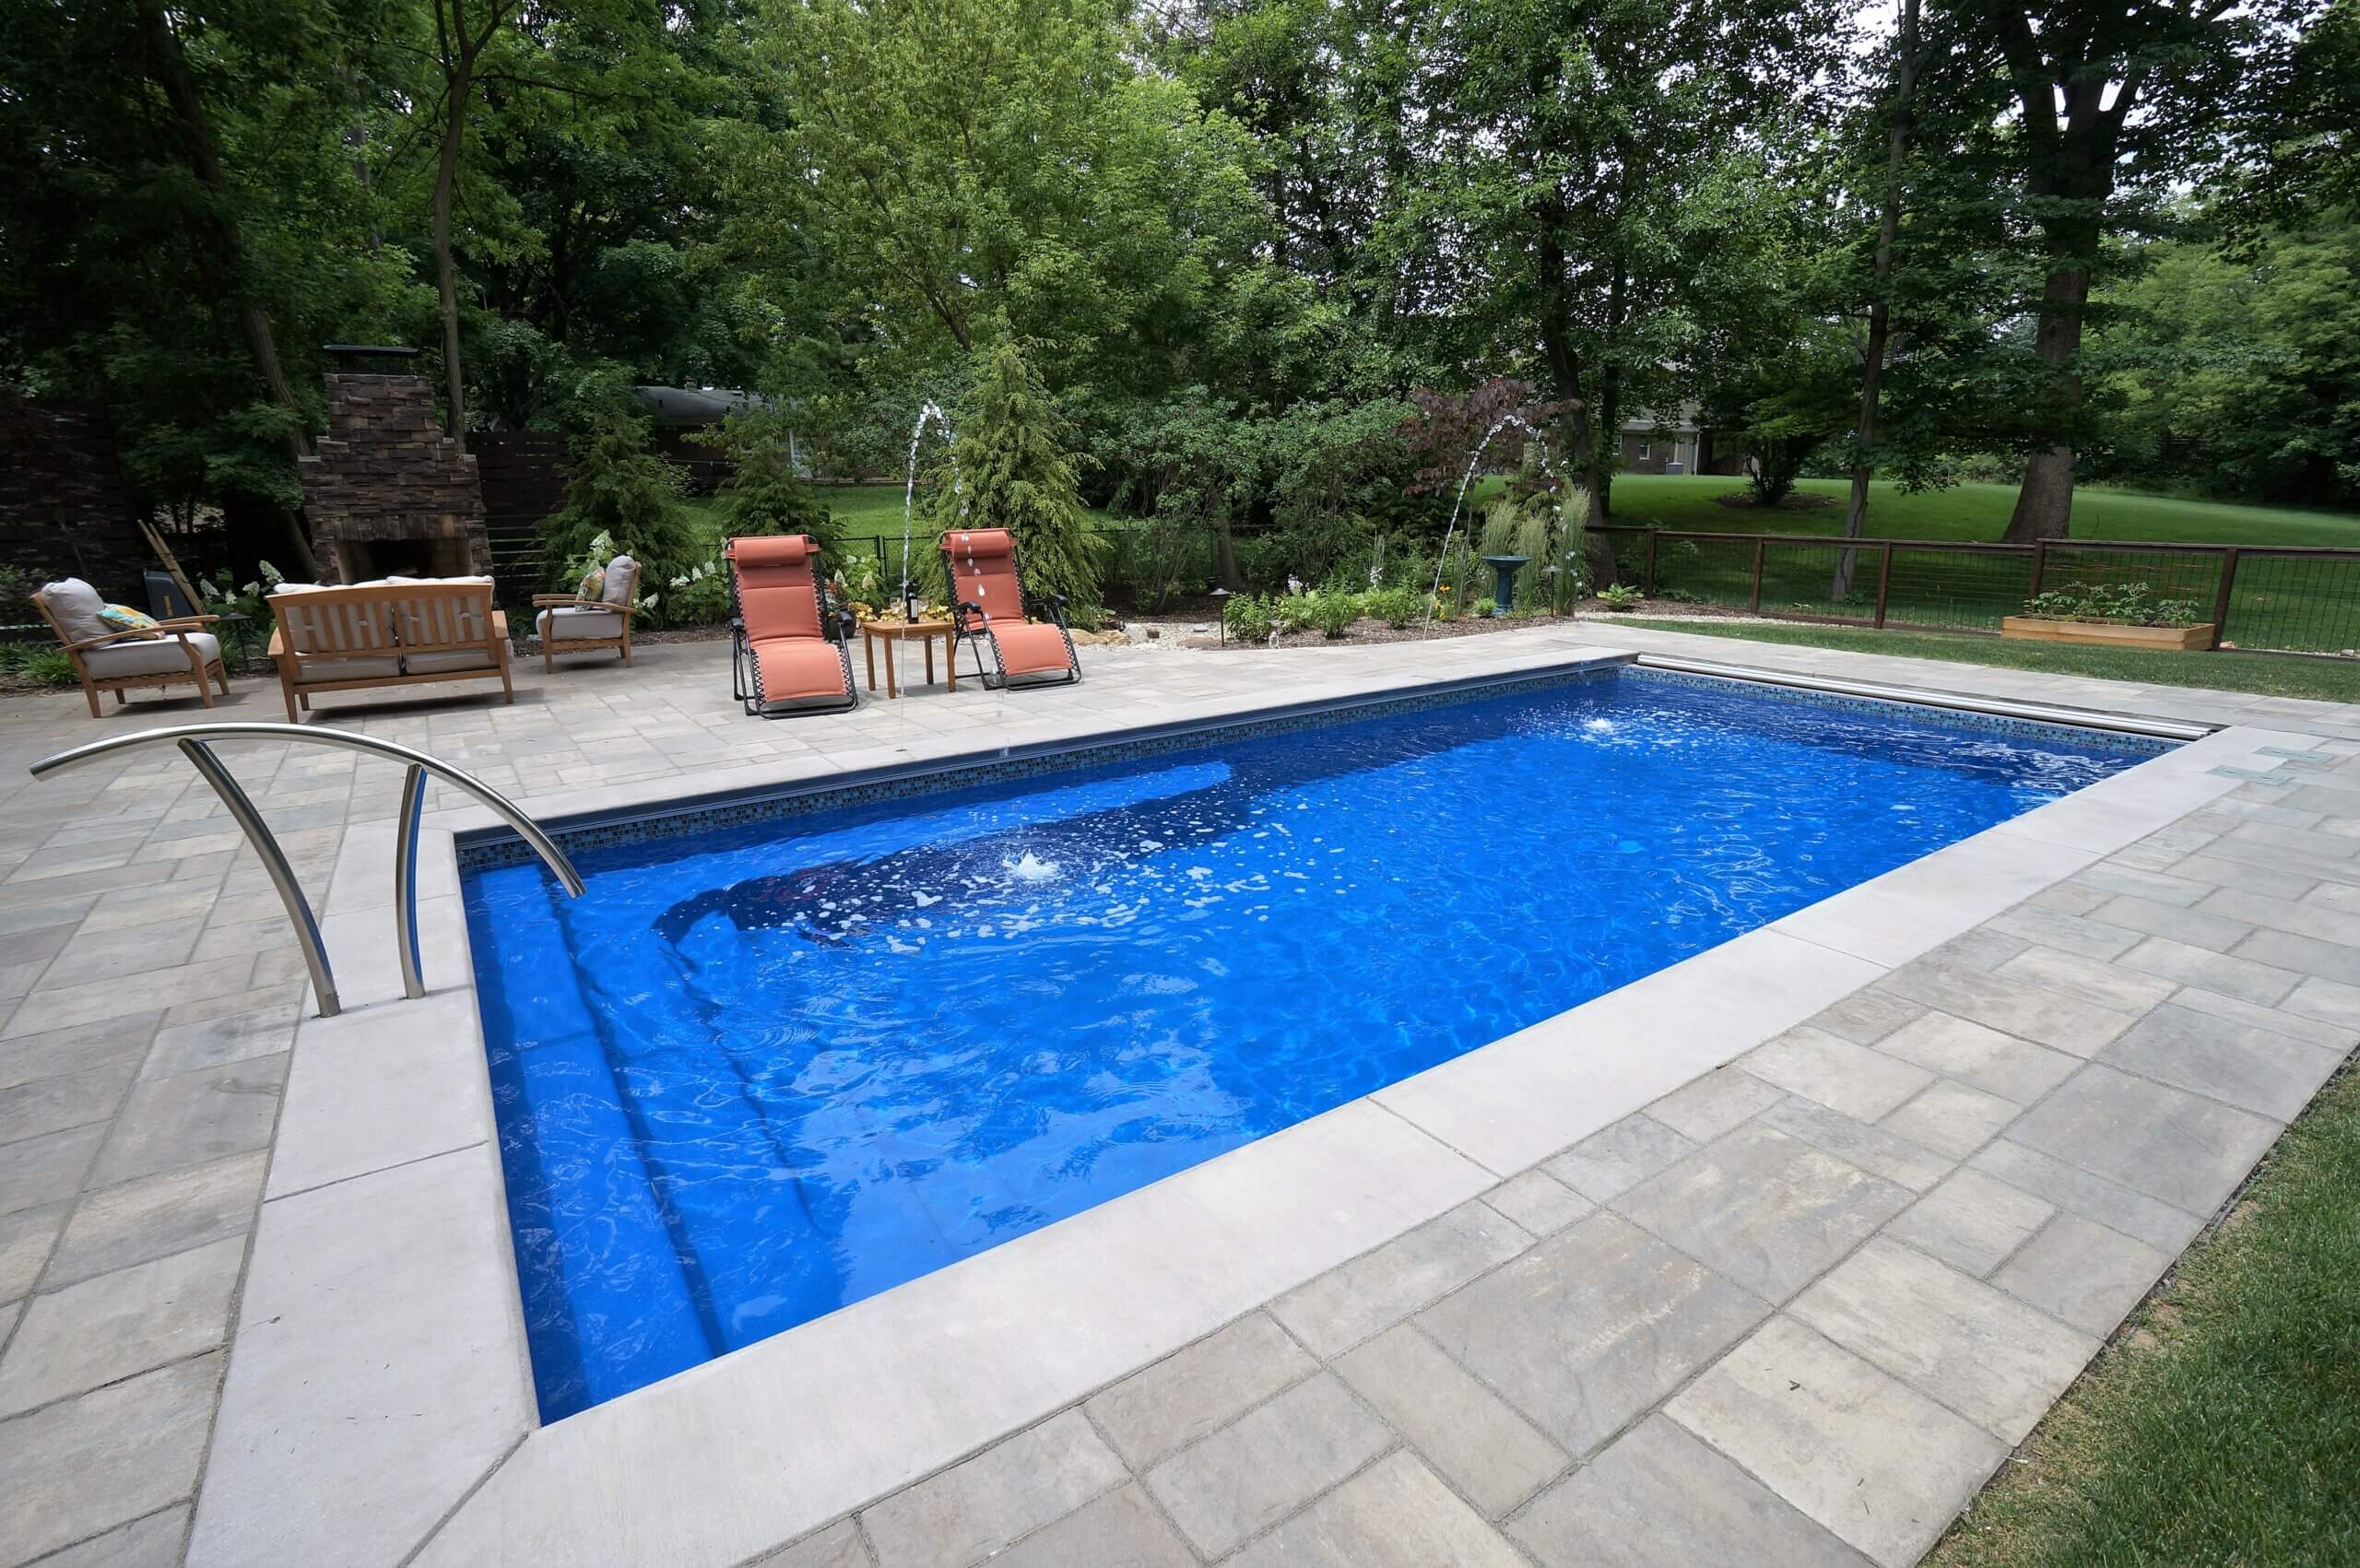
Fiberglass pools are durable, but they still require protection during winter to remain in optimal condition for Spring reopening. Investing in a safety-rated cover designed for your fiberglass pool can not only help protect your pool but also people and pets. Winter pool safety covers also help maintain cleaner water, making reopening the pool in Spring much more manageable by requiring less time and fewer chemicals to bring the water back to swimmable conditions.
Your safety cover should fit tightly over the pool and have no gaps along the edges. Non-automatic winter pool safety covers are typically anchored to the surrounding deck. Make sure the anchors are in good condition and securely fastened. If you notice any signs of wear or loosening, address these immediately to ensure the cover remains in place all winter. Automatic safety covers provide strong, reliable protection and are often rated to hold substantial weight. One of the benefits of an automatic pool safety cover over a standard winter safety cover is the ease of taking a peek periodically at your water level.
Winterize the Pool Water & Equipment
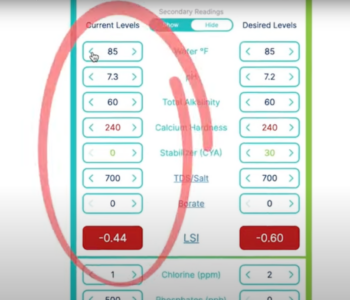
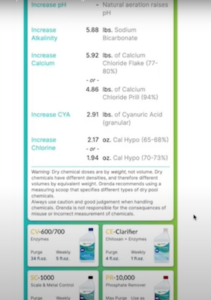
Winterizing your fiberglass pool goes beyond just covering it. You also need to prepare the water, plumbing, pumps, and filters for freezing temperatures. First, be sure to have the pool water tested prior to closing to ensure all levels are within the desired ranges. Allow enough time to make any necessary adjustments. Keep in mind, you do not need to add additional chlorine to get through winter months. The desired levels will meet desired demand as long as you open early in the spring before temperatures begin to rise. Never add Calcium Hypochlorite which is found in some shock treatments, use liquid chlorine or non chlorine shock options. Stay on top of your stain and scale maintenance doses as well. Some winterizing kits include a winterizing stain and scale control product. Clean the filter thoroughly. Backwash sand or DE (Diatomaceous Earth) filters. Rinse and store cartridge filters. Turn off the power and drain all water from the pump, filter, and plumbing by removing the drain plugs and blowing out the lines with an air compressor.
Add pool-specific antifreeze to the skimmer and return lines to protect against freezing. Cover the pump and filter with a weatherproof tarp to shield them from snow and ice. Store smaller parts like pump baskets and pressure gauges indoors, and check your equipment periodically throughout the winter to ensure it remains protected and functional for Spring.
Maintain Pool Water Levels Throughout the Winter
Fiberglass pools can be affected by fluctuating water levels during the winter. If water levels become too high under the cover, overflow can strain the pool’s shell and cause fiberglass cracks. Use a submersible pump to drain the excess. On the other hand, draining the pool too low can lead to a “floating” pool, where the pool shell lifts out of the ground, especially in areas with high water tables. You can equalize the water pressure around the pool by adding water to your pool before pumping water off your cover.
Your water line should never dip below the skimmer level in a fiberglass pool, including during winter when it’s not in use. We recommend maintaining the water level to just below the midway point of your skimmer. This level helps balance the water inside your pool with the groundwater throughout the freezing weather.
Keep the Safety Cover Clear
Regardless of your safety cover type, too much snow and ice accumulation can place dangerously excessive weight on your winter pool safety cover. And while they may seem harmless, leaves, dirt, and twigs can degrade the material of the cover over time. To prevent potential damage and make your cover last longer, clear all debris and snow from your pool cover as soon as possible.
Always use soft tools like a broom or a pool cover rake to clear your cover. Avoid sharp tools, which can tear or puncture the cover. Ice, in particular, should be left to melt naturally to avoid damaging the cover or the fiberglass shell beneath.
Supervise the Pool Area
Even in the winter, when no one is swimming, it’s important to ensure the pool area remains secure. Never allow family members or guests to walk on the pool cover, even though it may appear sturdy. Also, consider installing a fence with a self-locking gate to prevent unauthorized access to the pool area. Of all the safety measures you can take, supervision is the best way to prevent accidents around your pool.
Consider Professional Help for Winter Fiberglass Pool Maintenance
While the previous tips can help you protect your pool, you may feel more confident enlisting the help of a pool professional. An experienced pool pro can properly fit and secure a winter pool safety cover and prepare your pumps and filters for freezing temperatures. Contact a pool professional near you for advice, and continue to explore more pool maintenance advice.